

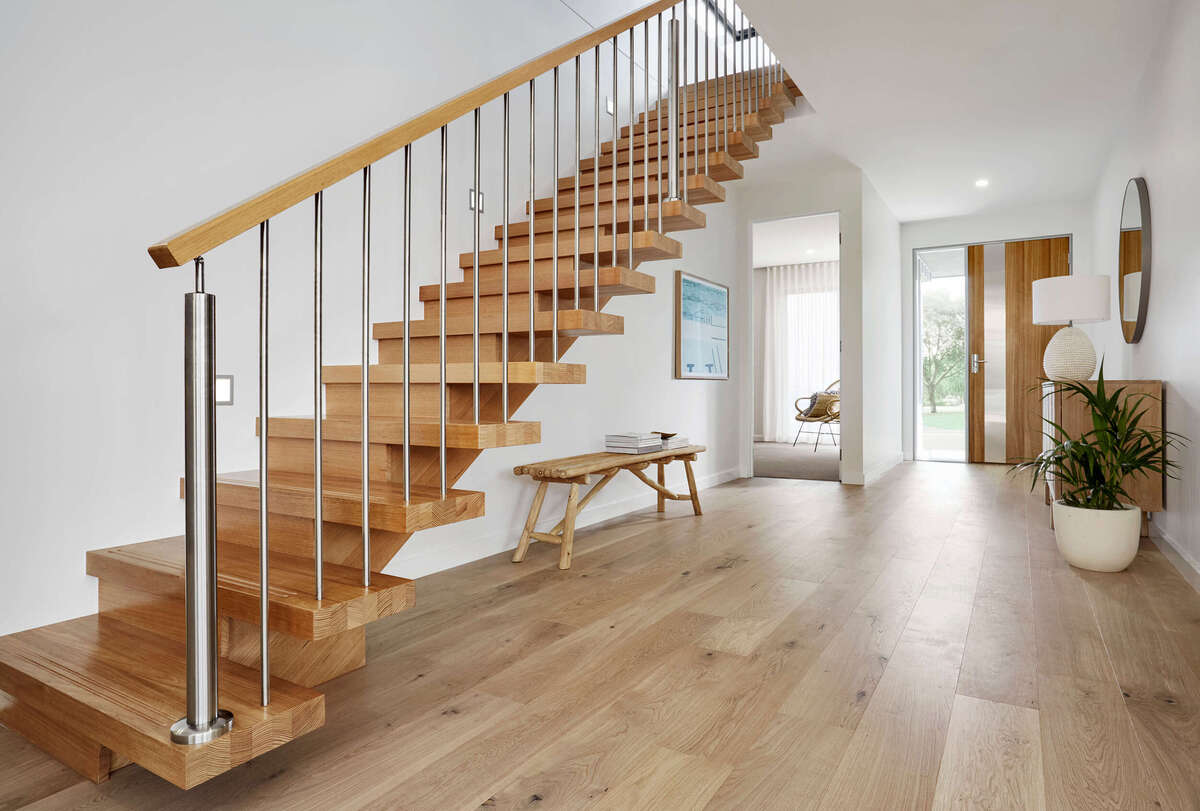
Every stair project is different: the stairwell, the total rise, the shape of the flight, and the supporting structure all change. Yet errors rarely start in the 3D model, they hide in the handoffs: the drawing that becomes a parts list, the list that becomes a machine program, the last-minute change that reaches the engineering office but never makes it to the machining center.
That’s why your stair CAD/CAM software workflow affects the result as much as the machine itself.
If every stage starts from scratch, one out-of-spec tread run or one misplaced tie rod hole is enough to turn a stringer into a part you have to remake. But when everything comes from a single 3D model, the cut list and the CNC programs follow every change.
In this article, we’ll look at where errors hide and which steps you can automate.
Where Do Errors and Rework Come From in Wood Stair Manufacturing?
A staircase isn’t a set of independent parts: every dimension depends on another, and an error on one part cascades to every part connected to it.
When the steps are manual, the weak points are almost always the same:
- Variants carried over by hand: a change requested by the customer has to be updated on every view and every part.
- Dimensions copied over: measurements go from the drawing to the cut list and from the cut list to the program, and every transcription can turn into an error.
- Programs written at the machine: the operator rebuilds pockets and drilling at the machine, interpreting the drawing.
- No verification before machining: the error shows up at the dry fit or, worse, on the job site.
The cost isn’t just the part you have to remake. On a solid wood staircase, it means wasted premium lumber, a new machine setup, and a delayed delivery.
Reducing errors in stair manufacturing, then, takes more than working more carefully: you have to eliminate the steps where the same information gets rewritten.
How Do You Set Up a Stair CAD/CAM Software Workflow?
The principle is simple: a single model from which all production documents are derived. In a well-designed stair CAD/CAM workflow, no operator re-enters by hand what the software already knows.
That’s the approach behind PowerSTAIRS, our CAD/CAM software for stair design and manufacturing.
Let’s walk through the three stages.
From Field Measurements to the 3D Model of the Wood Staircase
The starting point is the field measurements: total rise, stairwell dimensions, and the starting and landing positions. In a parametric workflow, these measurements aren’t used to draw the staircase but to configure it.
With PowerSTAIRS, you choose a model from your custom library, enter the dimensions, and get the 3D model of the wood staircase along with the plan view. As 3D stair design software, it handles supporting structures in wood, metal, and glass as well as stacked flights, and it calculates the minimum headroom.
The advantage is that the 3D model you show the customer is the same one that goes to production: if a measurement changes, the model changes too, along with everything derived from it.
From Part Geometry to the Stair Cut List
From the 3D model, the software derives the geometry of every single part: stringers, treads, risers, newel posts, handrails. PowerSTAIRS exports a separate DXF file for each part, generates the cut list, and lets you print every component at 1:1 scale. You also get a cost estimate from the same project.
This is where transcription disappears: with stair cut list software, the cut list isn’t compiled by reading the drawing but derived from the same dimensions as the model. If the customer asks for a deeper tread, the cut list regenerates from the updated model, without anyone having to remember to correct it.
From the CNC Program to Simulation
The last step is the one where an error costs the most: the program for the machining center. As stair CNC software, PowerSTAIRS generates the CNC programs automatically and provides a 3D simulation of the machining operations, so you can check pockets, drilling, and angled cuts before the part ever goes on the table.
With the PowerSIM plugin, verification extends to the machine: you simulate the operations on your own CNC and, with the Collision Control module, spot potential collisions between tools and machine parts. On long stringers and solid wood parts, it’s the check that keeps you from discovering a problem halfway through the cycle.
Between the program and the machine, there’s one link you shouldn’t underestimate: the CNC post-processor, which translates the toolpaths into the language of the machine controller. If it isn’t aligned with the machine’s actual configuration, even a correct program can produce a wrong part.
Which Steps Can You Automate in Wood Stair Production?
Knowing how to automate stair production doesn’t mean taking the technician out of the process. It means taking away the repetitive steps where the same information gets rewritten and errors slip in without anyone noticing.
In the workflow we’ve described, there are four points to automate:
- Machine code generation: with the Stairs Importer module, which can be integrated into PowerSTAIRS, going from the stair project to machine code is automatic. The project files are imported into EasyWOOD, our CAD/CAM software for woodworking, which generates the programs for the machining center.
- Applying machining operations: automatic CAM applies the operations to the project according to defined rules and processes the DXF files automatically, so recurring drilling and pockets don’t have to be set up every time.
- Part identification: a staircase has many similar components, such as treads and risers that differ in only a few details. With XLabel, you print labels from a tablet or the machine PC and keep track of every part in production.
- Production control: with the XFactory MES, you monitor, track, and document the production process, so you have production traceability for every job.
The technician keeps the most important task: setting up and validating the first configuration. Once verified, it becomes the starting point for the jobs that follow.